

The Basic Embroidery Process
These are the basics of making your very own embroidery art, step-by-step. This is by no means the only way to do this, but these are the basics. It’s how I do 95% of my own work so I can say it works for me. I hope it works for you too!
Starting:
Put the fabric, design side up, into your hoop. Align it how you want to to be and tighten down the clamp.
Trim excess fabric around the hoop, making sure to leave at least 2 inches of excess so you can finish off your work cleanly after you are done.
Cut a piece of thread that is as long as your arm.
Tie a knot in the end of your thread and then thread your needle with the other end, leaving 6-8 inches of tail.
Start from the back of the fabric and poke your needle through and go for it!
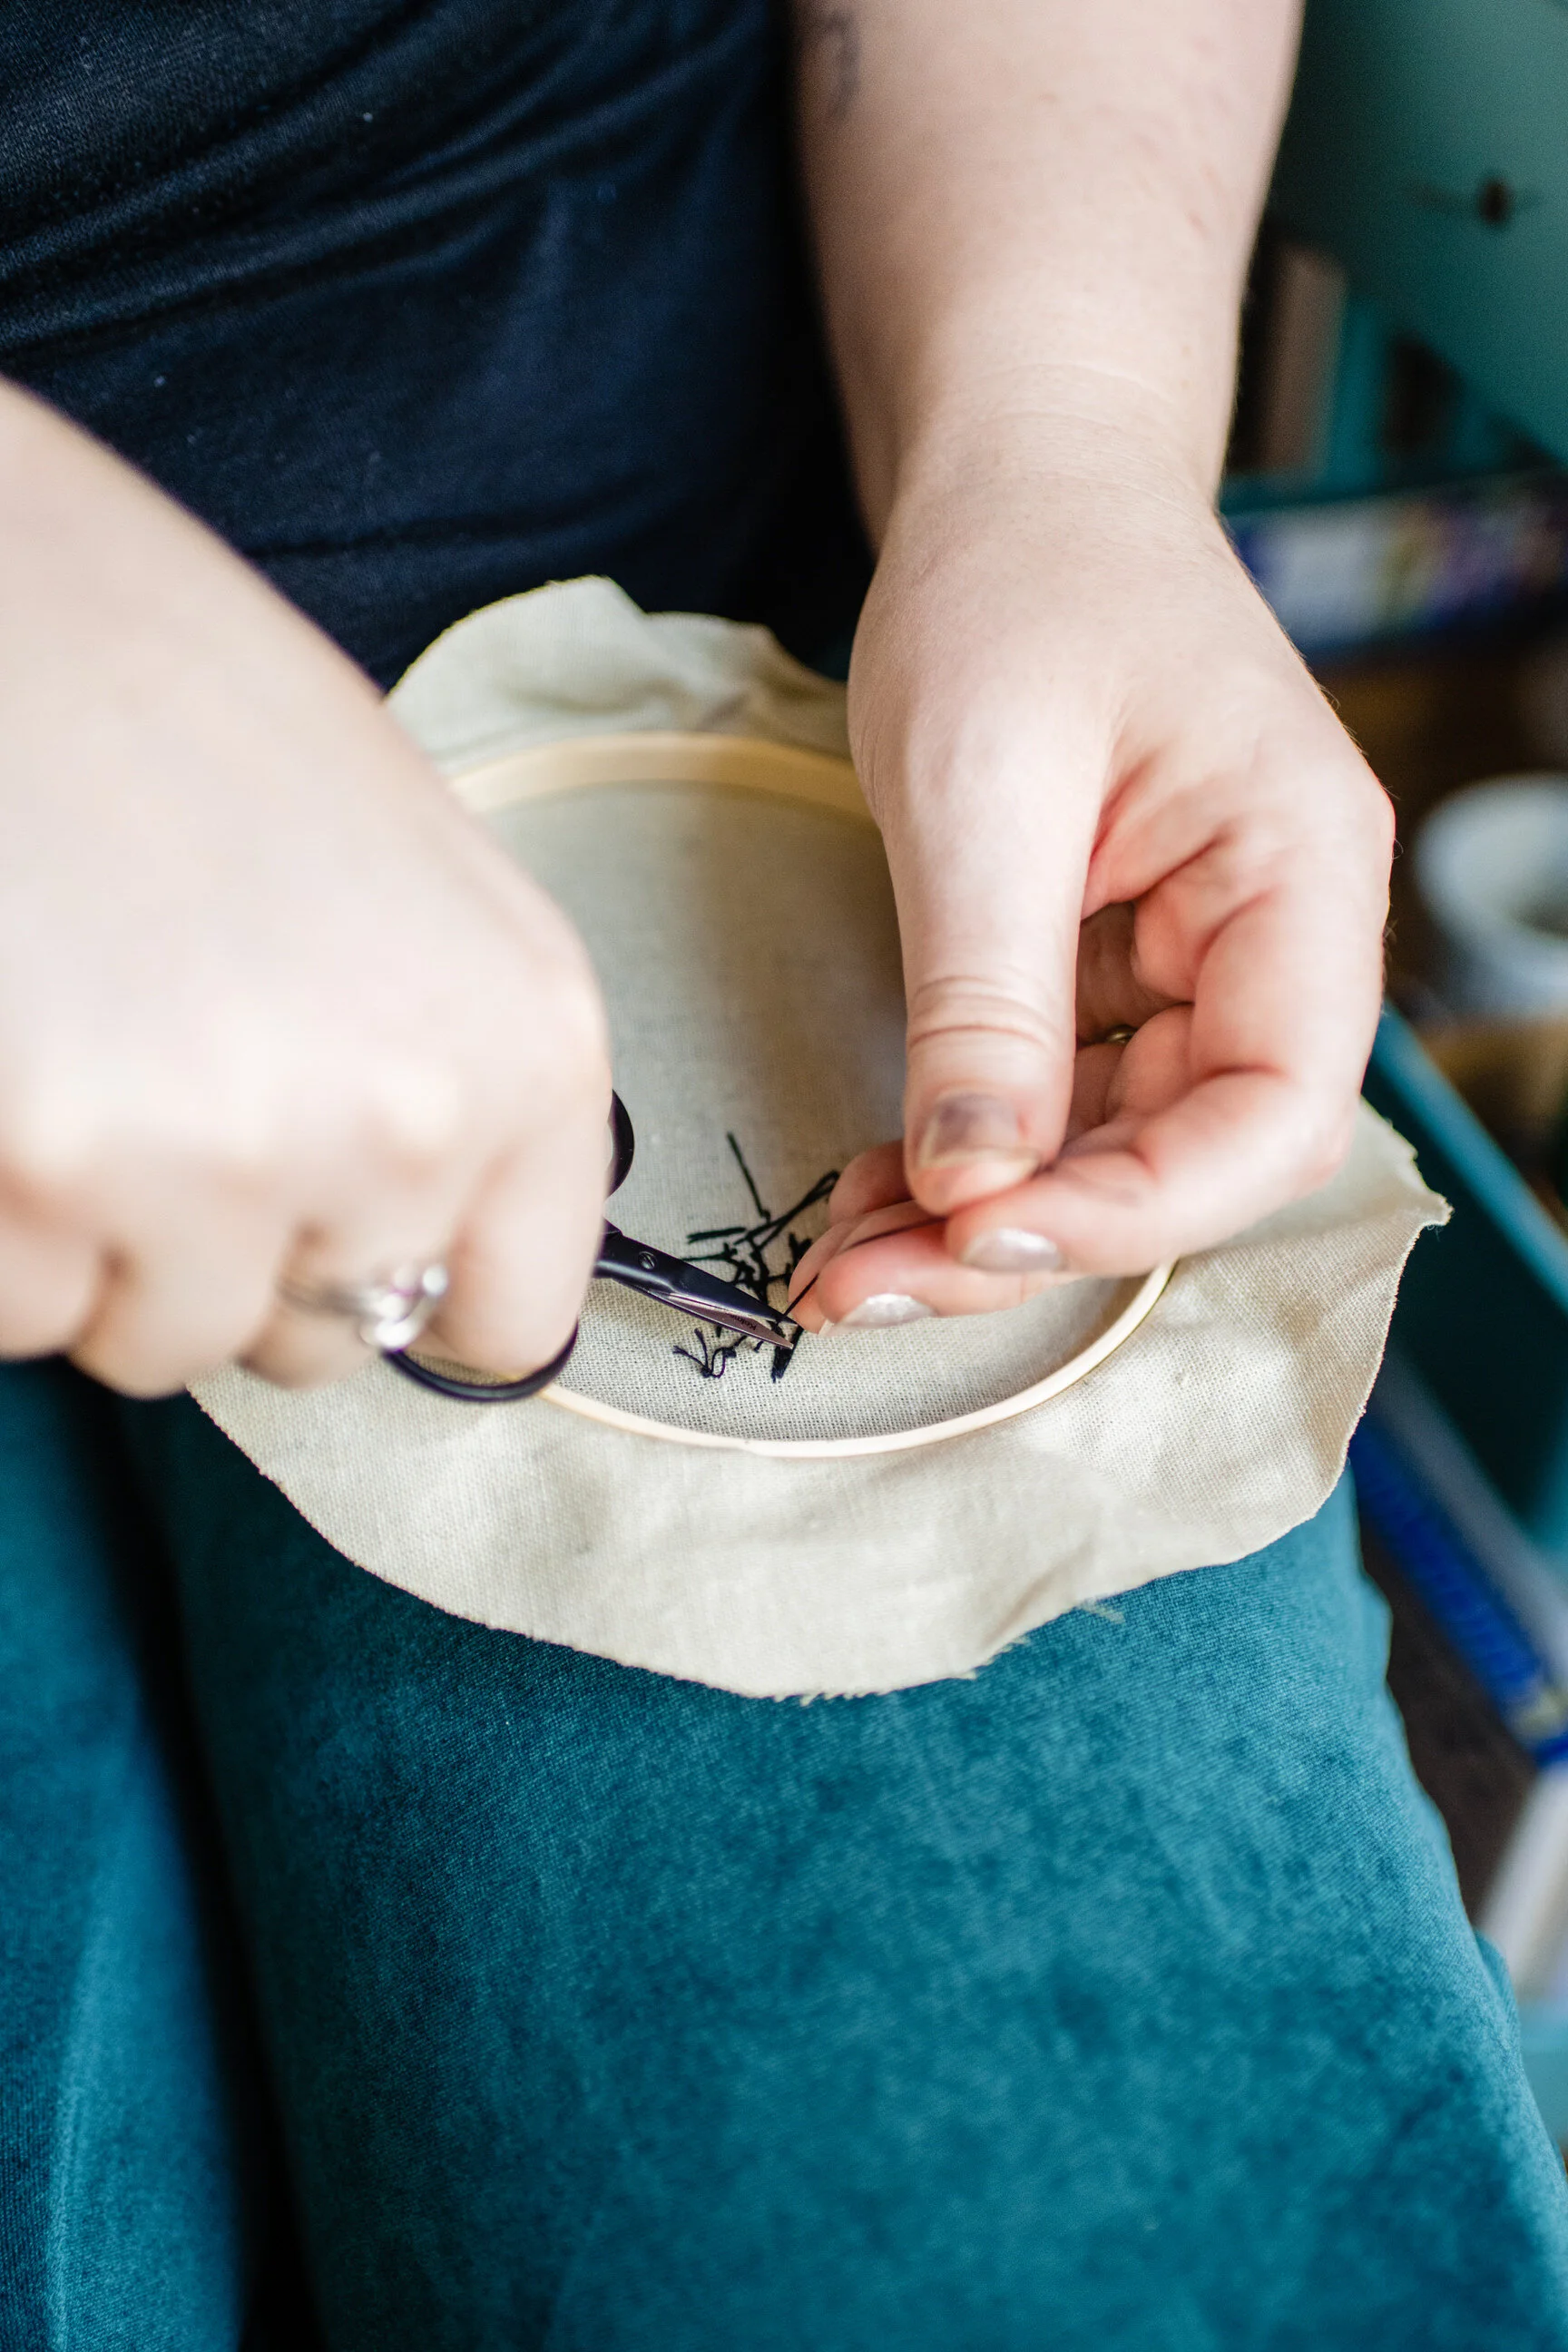
When you come to the end of your thread, make sure you are on the back of the fabric and then cut the remaining thread about 6-7 inches from the fabric. Split the thread and tie 2 or 3 knots on top of one another, flush with the fabric. Cut the excess off.
Start a new piece of thread and keep on stitching.
Finishing:
Once you finish your piece, admire it and give yourself a pat on the back.
Remove your ink lines in the way recommended by the pen manufacturer. I use a hairdryer since I use the erasable pen I recommend in the “Favorite Tools” article.
Pull the fabric as taut as you can, making sure to keep your design centered.
Flip your work over so you are looking at the back of it.
Sew a running stitch along the extra fabric that is on the outside of the hoop all the way around.
Cut the thread with long enough tails so that you can tie it in a tight knot.
Tie a tight knot. Having an assistant to hold the knot halfway through will help here.
Cut excess fabric away if you have a lot.
Snap a photo and use the hashtag #themodstitcher so I can see your work!
